Welcome to this tutorial on creating a free Minecraft server in 2024. This guide will walk you through the steps to set up and configure your own Minecraft server, accessible on both Java and Bedrock editions. Whether you’re new to hosting or a seasoned player looking for a free solution, this tutorial will get you started. Read more such articles on Gamingepicenter.com
Table of Contents
ToggleHow to Create a Free Minecraft Server in 2024
Creating a Minecraft server is an exciting way to enhance your gaming experience, allowing you to play with friends, build together, and explore new worlds.
In 2024, there are several methods to set up a free Minecraft server, whether you prefer hosting it on your own computer or using online services. This guide will walk you through the process step-by-step, ensuring you can enjoy a seamless gaming experience.
Understanding Minecraft Server Types
Before diving into the setup process, it’s essential to understand the different types of Minecraft servers available. This knowledge will help you choose the right setup for your needs.
1. Local Servers
Local servers are hosted on your personal computer. They are easy to set up and are ideal for playing with a small group of friends. However, the server will only be available when your computer is running, and performance may vary based on your hardware and internet connection.
2. Free Hosting Services
Several online platforms offer free Minecraft server hosting. These services manage the server for you, allowing you to focus on gameplay. While they come with limitations, such as server uptime and available resources, they are a great option for casual players.
3. Paid Hosting Services
For those looking for more reliability and features, paid hosting services provide dedicated servers with better performance, uptime, and support. These are ideal for larger groups or more serious gamers.
Creating the Server
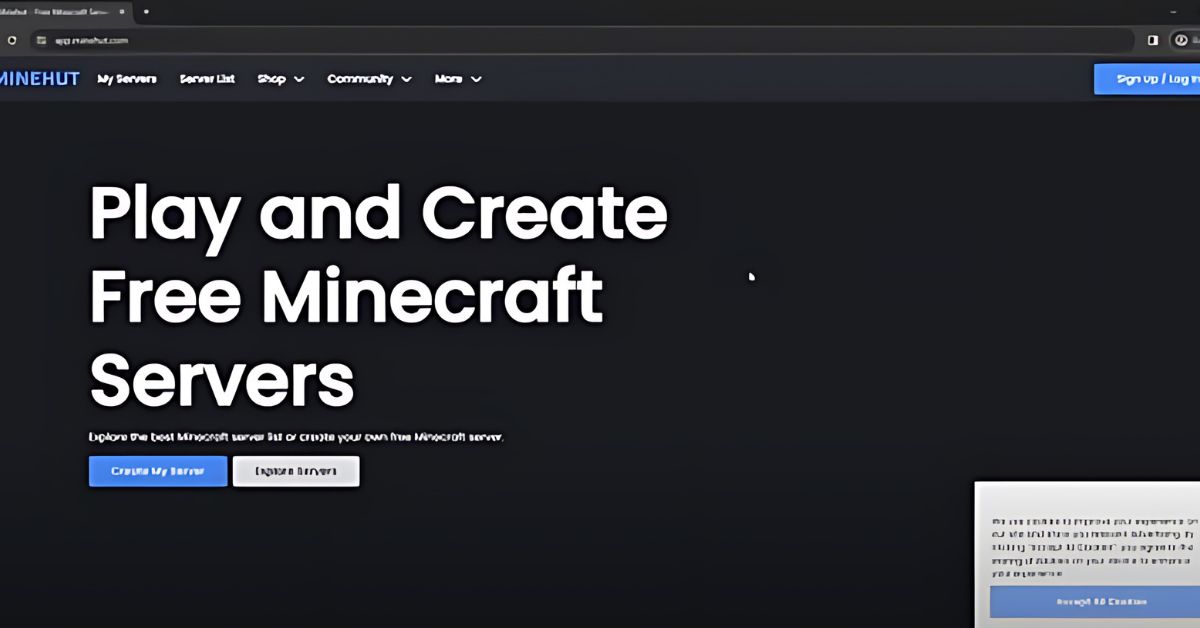
Step 1: Visit Minehut and Start Server Creation
To begin, visit Minehut and click on “Create My Server.” Minehut is a popular free hosting platform that allows players to create and manage their own Minecraft servers with ease.
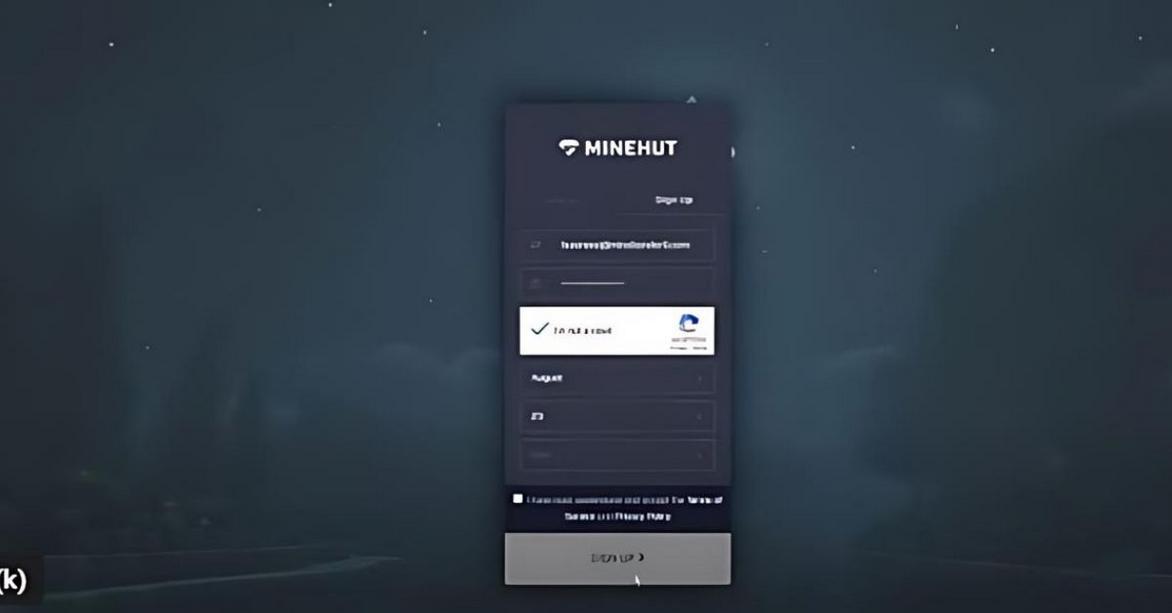
Step 2: Sign Up and Confirm Email
Sign up for a Minehut account by providing your email address and creating a password. After signing up, you will need to confirm your email address. Check your inbox for a confirmation email and click the link to verify your account.

Step 3: Create and Name Your Server
Once your account is verified, you can proceed to create and name your server. The server name you choose will be part of your server’s IP address, so pick a name that’s unique and easy to remember.

Step 4: Activate the Server
Activate your server by clicking the “Activate” button. It takes about 30 seconds for the server to start up. Once activated, you will have access to various management and configuration options.
Configuring the Server
Server Management
In the Minehut dashboard, you can manage your server with options to start, stop, or restart the server as needed. This control panel makes it easy to keep your server running smoothly.
IP Address
Copy the IP address provided for both Java and Bedrock editions to join the server. This IP address is what you’ll use to connect to your server from within Minecraft.
Server Version
Edit and change the server version if needed. Minehut allows you to switch between different Minecraft versions, making it compatible with the latest updates or older versions for nostalgia.
Message of the Day
Customize the server’s message of the day (MOTD) with colors and text. This message appears in the server list and can be used to convey important information or welcome players.
Server Category
Set the category and visibility of the server. You can choose whether your server is public or private, and categorize it based on the type of gameplay (e.g., survival, creative, PvP).
Game Settings
Configure various game settings such as max player count, enabling PvP, allowing flight, spawn protection, and more. These settings help tailor the gameplay experience to your preferences.
Upload World
You have the option to upload a custom world or use the default one provided by Minehut. This feature is great for starting a server with a pre-built map or an adventure world.
RAM Upgrade
The free plan includes 1 GB of RAM, which is sufficient for small servers. However, you can upgrade your server’s RAM for better performance if needed, especially for larger communities or more complex builds.
Domain and Resource Pack
Add a custom domain to make your server easier to remember and access. You can also upload a resource pack to enhance the visual and audio experience for players on your server.
Joining the Server
Java Edition
To join the server using the Java Edition of Minecraft, open the multiplayer menu and enter the copied IP address. Click “Join Server” to connect and start playing.
Bedrock Edition
For Bedrock Edition, use the specified Bedrock IP address to join the server. Open Minecraft, go to the “Friends” tab, and add the server using the IP address provided.
Server Commands
Accessing Console
Use the console in the Minehut server panel to execute commands directly. The console provides a powerful tool for managing and troubleshooting your server.
Gaining Operator Status
To gain operator status and access server commands like game mode changes, use the command /op [your_username] in the console. Operator status grants you administrative privileges to manage the server effectively.
Additional Tips
Join the server from the MCHut lobby using the /join [server_name] command.
For more tutorials on add-ons and plugins, leave a comment or request specific guides.
Managing Your Minecraft Server
Once your server is up and running, managing it effectively is crucial for a smooth experience. Here are some tips to help you manage your server:
1. Regular Backups
Always back up your server files to prevent data loss.
Manual Backups: Regularly copy your server folder to a different location.
Automated Backups: Some hosting services offer automated backup options.
2. Install Plugins and Mods
Enhance your server’s functionality by installing plugins or mods.
Find Plugins: Look for plugins compatible with your server version on websites like SpigotMC or Bukkit.
Install Plugins: Follow the installation instructions provided with the plugin.
3. Monitor Server Performance
Keep an eye on your server’s performance to ensure a smooth experience for players.
Check Resource Usage: Monitor RAM and CPU usage to ensure your server runs efficiently.
Adjust Settings: If you notice lag, consider adjusting the server settings or upgrading your hosting plan.
Common Issues and Troubleshooting
As with any server setup, you may encounter issues along the way. Here are some common problems and their solutions:
1. Connection Issues
If players can’t connect to your server, check the following:
IP Address: Ensure you’re sharing the correct IP address.
Port Forwarding: Verify that port 25565 is correctly forwarded on your router.
2. Server Crashes
If your server crashes frequently, consider these steps:
Check Logs: Review the server logs for error messages that can help identify the problem.
Allocate More RAM: If your server is running out of memory, increase the allocated RAM in the startup command.
3. Lag and Performance Issues
If players experience lag, try the following:
Reduce Player Count: Lower the maximum number of players allowed on the server.
Optimize Settings: Adjust server settings to reduce resource usage.
How to Create a Free Minecraft Server in 2024 Conclusion
Creating a free Minecraft server in 2024 using Minehut is simple and accessible for players of all experience levels. By following this guide, you can set up your server, customize its settings, and invite friends to join your Minecraft adventures. If you have any additional questions, feel free to leave a comment or reach out for more tutorials and tips. Enjoy your new Minecraft server
How to Create a Free Minecraft Server in 2024 FAQs
What is Minehut and how does it work?
Minehut is a free Minecraft server hosting platform that allows you to create and manage your own Minecraft servers easily. It offers a user-friendly interface and various customization options to enhance your gaming experience.
Is creating a server on Minehut truly free?
Yes, creating a server on Minehut is free. The free plan includes 1 GB of RAM, which is suitable for small to medium-sized servers. Additional features and RAM upgrades are available through paid plans.
Can I use Minehut for both Java and Bedrock editions of Minecraft?
Yes, Minehut supports both Java and Bedrock editions. You can configure your server to be accessible by players using either edition.
How do I gain operator status on my server?
To gain operator status, use the console in the Minehut server panel and enter the command /op [your_username]. This will grant you administrative privileges to manage the server and execute server commands.
Can I upload my own custom world to the server?
Yes, Minehut allows you to upload your own custom world. You can also choose to use the default world provided by Minehut. This feature is great for starting your server with a pre-built map or an adventure world.
How do I change the server version?
You can change the server version from the Minehut dashboard. Navigate to the “Server Version” section and select the desired version from the dropdown menu. This allows you to run different versions of Minecraft on your server.
Is there a limit to the number of players on a free Minehut server?
The free plan typically supports a smaller number of players, usually up to 10. If you need to accommodate more players, you can upgrade your server’s RAM and player slots through Minehut’s paid plans.
How can I customize the message of the day (MOTD)?
You can customize the message of the day in the Minehut dashboard. Go to the “Message of the Day” section and enter your desired text, including color codes if you want to add colors to your message.
Can I add a custom domain to my Minehut server?
Yes, Minehut allows you to add a custom domain to your server. This makes it easier for players to remember and access your server. The option to add a custom domain is available in the server settings.
How do I join my Minehut server using the Bedrock edition?
To join your Minehut server using the Bedrock edition, open Minecraft, go to the “Friends” tab, and add the server using the specified Bedrock IP address provided in your Minehut dashboard.